A Step-by-Step Guide to Motorized Curtain Installation at Home
Installing automated window treatments is one of the best upgrades you can make to your home. It’s not only stylish but super practical too. With motorized curtain installation, you can enjoy more comfort, better light control, and energy savings, all at the touch of a button.
Many people think setup will be hard, but it’s actually very doable! You don’t need to be a tech expert. Just take your time, follow the steps carefully, and soon your blinds will work just the way you want.
Imagine waking up and opening your blinds without getting out of bed. Or keeping your home cool in summer just by scheduling when they close. It’s easy, helpful, and feels amazing.
Why Choose Motorized Curtains?
Before grabbing your toolbox, it helps to understand exactly what you are gaining. Motorized curtains are not just a flashy gadget; they offer practical benefits for everyday life.
Enhanced Convenience
The most obvious benefit is simplicty or ease of use. You can control hard-to-reach windows with the push of a button or a voice command. For elderly family members or those with mobility issues, this accessibility is a game-changer.
Improved Security
Automated curtains may simulate presence. By setting schedules for your curtains to open and close while you are on your vacation, you deter potential intruders who might be watching for signs of an empty house.
Energy Efficiency
Smart curtains may work in team with your thermostat. You can program them to close during the hottest part of the day in summer to keep your home cool or open during sunny winter afternoons to let in natural warmth, reducing your reliance on HVAC systems.
Preparation: What You Need Before You Start
A successful motorized curtain installation begins with preparation. Rushing into the install without the right measurements or tools is a recipe for frustration.
Accurate Measurements are Key
There is no “standard” window size. Measure the width of your window frame carefully. If you want the curtains to clear the window completely when open, add 20-30% to width measurement for “stacking space.” Check if you want a wall mount (above the window frame) or a ceiling mount (for a floor-to-ceiling look).
Check Your Power Source
Determine how you will power the motor.
- Battery-powered: Easiest for retrofitting as no wiring is needed. You will need to recharge the motor every few months.
- Hardwired: Requires an electrical outlet nearby or professional wiring. This is a “set it and forget it” option but involves more complex installation.
- Plug-in: Simply plugs into a standard wall outlet. You might need to manage the visible cord.
Gather Your Tools
Having everything within arm’s reach might make the process smoother. You will need:
- Tape measure
- Pencil
- Drill and bits
- Screwdriver
- Level
- Step ladder
- Stud finder
- The motorized curtain track kit
Step-by-Step Installation Guide
Once you have your kit and tools, you are ready to begin. Follow these steps carefully to ensure a secure and smooth operation.
Installing motorized curtains may sound like a big job, but with a right tools and a little patience, you may do it yourself. Follow these simple steps for a smooth motorized curtain installation.
Step 1: Mark Where the Brackets Go
Use a pencil and a measuring tape to mark where brackets will be installed.
- Wall Mount: Make sure curtains hang nicely without touching the floor, but even cover the window frame.
- Ceiling Mount: Measure from the wall to make sure the curtains won’t hit any handles or heaters.
- Use a stud finder to find strong support. If there’s no stud, make use of heavy-duty wall anchors.
- Don’t forget to use a level! Uneven tracks can damage the motor over time.
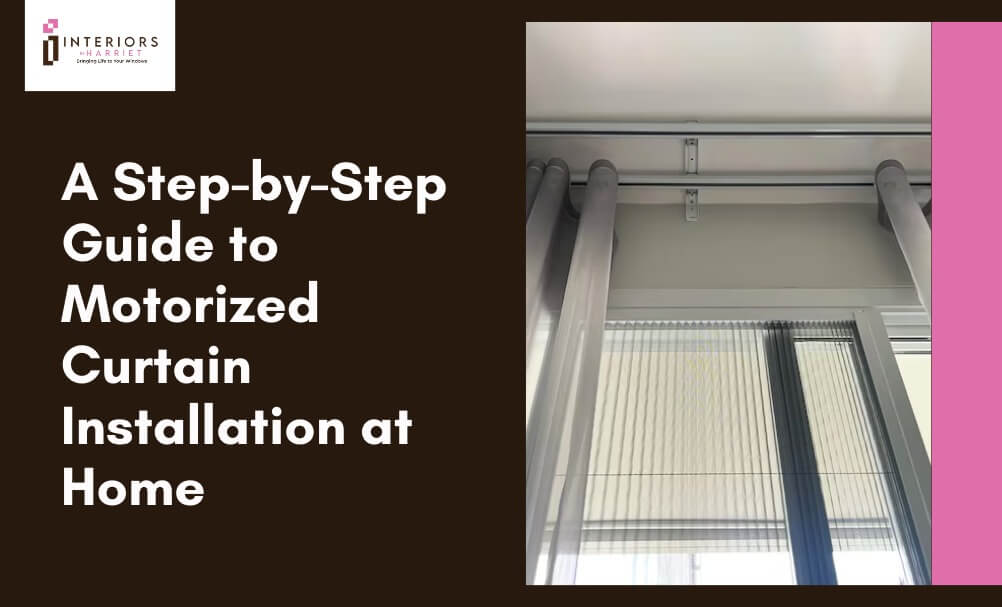
Step 2: Install the Brackets
Drill small starter holes where you marked. Screw in the brackets tightly. They should not move at all motors apply torque and can loosen weak brackets.
Step 3: Put the Track Together
Most curtain tracks come in pieces.
- Follow the instructions to connect them.
- Make sure the drive belt inside is snug, not too tight, not too loose.
- Add the master carriers (these pull the curtain).
Step 4: Mount the Track
Get someone to help you lift the track into place.
- Snap or screw it into the brackets.
- Listen for a click if it’s a snap-fit system.
- Test with a gentle pull to be sure it’s secure.
Step 5: Attach the Motor
Attach the motor to one end of the track. It usually twists and locks in.
- Plug-in motor: Use clips to neatly route the cable.
- Battery motor: Make sure the battery is fully charged.
Step 6: Hang Your Curtains
Start from the ends and hook the fabric onto the runners. Work toward the middle.
Gently slide the master carrier to test the movement.
Programming and Smart Integration
Set the Open and Close Limits
To help the motor know when to stop, you need to “teach” it where fully open and fully closed are.
- Open Limit: Use the remote to open the curtain fully, then press and hold the right button (check your manual) to save this as the open limit.
- Close Limit: Close the curtain all the way and save that position as the close limit.
Run the curtains back and forth once to make sure they stop correctly.
Connect to Wi-Fi & Use the App
If your curtain system connects to Wi-Fi, plug in the small hub provided by the company.
Then:
- Download their app.
- Follow the steps to connect your curtains.
This will let you open and close them with your phone or on a schedule.
Add Voice Control (Optional)
If you use Alexa, Google Home, or Apple HomeKit, go into your smart home app, select “Add Device,” and follow the prompts.
Now you can say, “Alexa, close the living room curtains,” and it’ll work like magic.
Troubleshooting Common Issues
Even with careful installation, hiccups can happen. Here are a few quick fixes.
- The motor is loud: Check if the track is level or if the belt is too tight. Lubricating the track with a silicone spray can also help.
- The curtain doesn’t close fully: Re-calibrate your “Close Limit.” The fabric might have stretched slightly, or the initial setting was a bit off.
- Remote not working: Check the batteries in the remote first. If that fails, re-pair the remote with the motor following the manual’s reset procedure.
- Wi-Fi drops: Ensure your Wi-Fi router is strong enough to reach the window location. Large metal appliances or thick walls can interfere with the signal.
Upgrade Your Lifestyle Today
Completing a motorized curtain installation is more than just a weekend project; it’s a lifestyle upgrade. You’re not just hanging drapes; you’re adding comfort, energy savings, and convenience to your home.
Whether you’re updating a single media room or giving your entire living space a high-tech refresh, the process is simpler than you think. The secret? Measure twice, take your time, and follow all the steps carefully. Once set up, the magic of waking up to sunlight gently filtering through your windows automatically will change how you feel about each morning.
No more tugging on cords. No more climbing over furniture to adjust a window shade. Just one touch or voice command, and your home responds. Consult Harriet J today for expert advice, premium products, and flawless installation tailored to your space.